Overview

How Ditto works

Discover how end users and IT admins interact with Ditto.

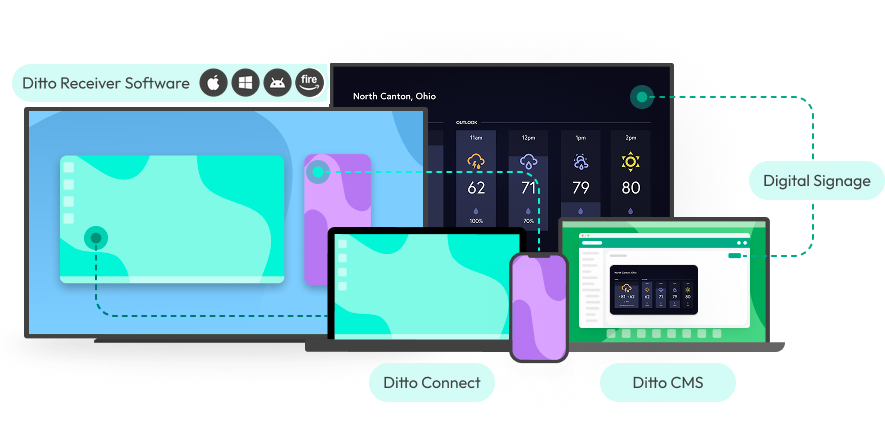
Ditto ecosystem diagram: Ditto Connect devices mirror to receivers on Apple, Windows, Android, and Fire TV, while Ditto CMS powers digital signage.

The Ditto experience – end users

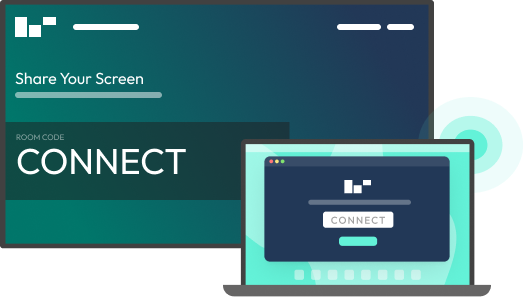
It’s easy to wirelessly share device screens to Ditto-enabled displays. Simply navigate to connect.goditto.com or use the Ditto Connect App. Enter the Ditto room code that appears on the display to begin screen mirroring.

A screen and laptop interface both displaying a 'CONNECT' prompt with a room code, representing screen sharing for end users.
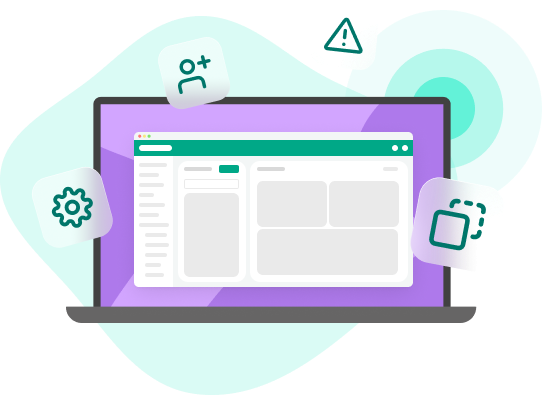
A laptop displaying the Ditto CMS dashboard with icons for user management, alerts, settings, and screen layout configuration.

The Ditto experience – IT admins

All you need to get started with Ditto is a compatible receiver, like an Apple TV, Windows, Android or Fire OS device. Simply connect the receiver to a TV, projector or interactive display.  


Create your organization’s Ditto account. Once you have an account, setup can be completed in minutes in the Ditto Account Portal. Deploy Ditto software across your organization remotely and customize settings from here. 

Use the account portal to: 

  • Remotely deploy Ditto software 
  • Customize settings 
  • Manage screen mirroring, digital signage and alerts 
  • Assign users to digital signage roles 
  • And much more 

Get complete Ditto setup instructions →

In Education
1
Ditto receiver
2
Teacher device w/ Ditto Connect
3
Student device w/ Ditto Connect
4
Classroom display
5
HDMI
6
Ethernet (recommended)
7
Network
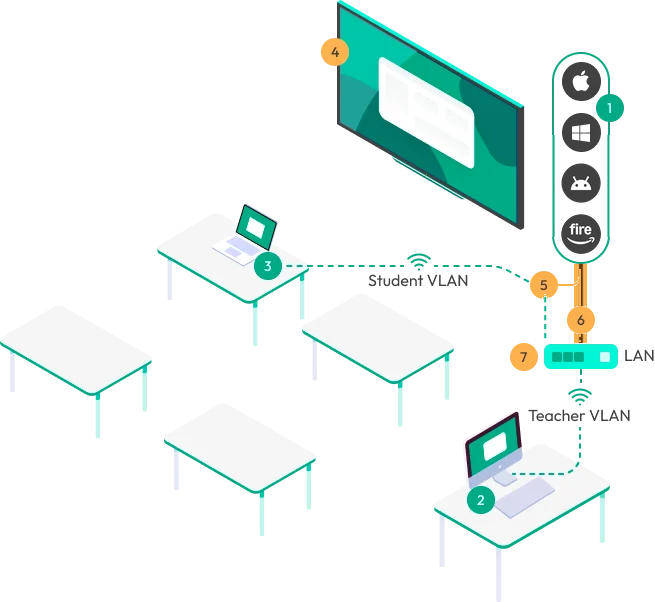
Classroom technology setup diagram
In Business
1
Ditto receiver
2
Employee device w/ Ditto Connect
3
Guest device w/ Ditto Connect
4
Office display
5
HDMI
6
Ethernet (recommended)
7
Network
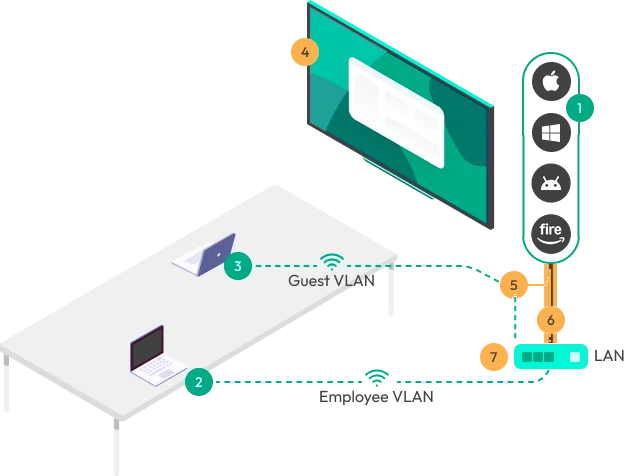
Business technology setup diagram
Digital Signage
1
Ditto receiver
2
Ditto signage
3
Screen mirroring (optional)
4
HDMI
5
Ethernet (Recommended)
6
Network
7
Anywhere signage management (CMS)
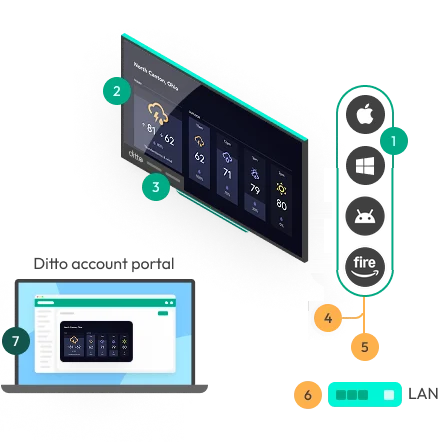
Digital signage setup diagram